Tuesday, November 20, 2018

Super Simple Family Style Goulash

From the Myers Family Cookbook

 I say "super simple", not "super easy". I mean, you do have to brown the beef and cook the macaroni. But you only need three ingredients. To me, that's super simple!

You can use lean ground beef or you may sometimes want to use ground turkey, which is both lean and usually more economical. 

Makes about eight servings (or you can cut amounts in half - for less):

2 pounds lean ground beef or ground turkey
2 pounds dry elbow macaroni (or about 8 cups dry elbows)
1 24 oz jar spaghetti sauce

Brown and stir ground beef (or ground turkey) in a large frying pan over medium heat.

Fill a Dutch oven with water and bring to a boil. Carefully add the macaroni and cook until tender. Drain in a colander and leave it there for now.

Put the spaghetti sauce in the bottom of the pan in which you cooked the macaroni. Add the beef. Then add the macaroni from the colander. Stir gently but thoroughly.

Heat the goulash on low to medium-low heat, stirring occasionally until warmed through.

Serve with a salad or vegetable.

Turkey Gravy

From The Myers Family Cookbook:


Cook turkey according to the instructions on the package, following all safety precautions for cleanliness and temperature. 

To make the gravy, I like to have on hand: a gravy separator; a 2-cup liquid measuring cup; a wire whisk; a clean jar with a lid; and some jars of store-bought gravy, in case I run out of the tastier, homemade kind. I also assign or set aside other tasks, so I can focus on making the gravy without interruption. Better yet, I tech and assign someone else to make the gravy.

After cooking the turkey, remove it from the roaster pan to a platter. Pour drippings from roaster pan into a gravy separator. Let settle for a minute or two, and then slowly pour into a liquid measuring cup, leaving most of the fat in the bottom of the separator. It's okay if you include a little bit of fat in the measuring cup for your gravy; actually, a little fat is almost essential to good gravy.

Now look at how much drippings you have in your liquid measuring cup. For our example, we will assume that you have one cup of drippings. If you have 1 ½ cups or ½ cup, you can adjust the following directions accordingly. After noting how much you have, pour your drippings into a large open saucepan. 

Assuming you have 1 cup of drippings, pour 1 cup water into a clean jar for which you have a lid. Add ½ cup flour to the water in the jar (depending on how wide the mouth of your jar is, you may have to spoon the flour in from the measuring cup). Cover tightly with a lid, and shake water and flour vigorously. Pour water and flour mixture into the drippings and stir. (continued on next page)

Heat the drippings, with the water and flour mixed in, over medium-low heat, stirring constantly, until the gravy begins to thicken. If it becomes too thick, add hot water, a very little bit at a time. Having a microwave makes this easy, but before we had a microwave I used to keep a tea kettle of hot water on the stove while making gravy. If lumps begin to form, it may be because the heat is too high or because you stopped stirring for a moment. So, if this happens, you will want to quickly turn the heat down, and then try to work out the lumps with the wire whisk. If you need to, you can turn the heat off instead of just down, as you can always turn on the heat again, once it becomes smooth again. Then continue to simmer and stir until gravy is the thickness that you like.

Salt the gravy sparingly, according to taste, and keep warm over the lowest possible heat until ready to serve, stirring occasionally. Again, you may need to add a bit of hot water if it thickens.

Friday, July 13, 2018

Frugality for the Patio


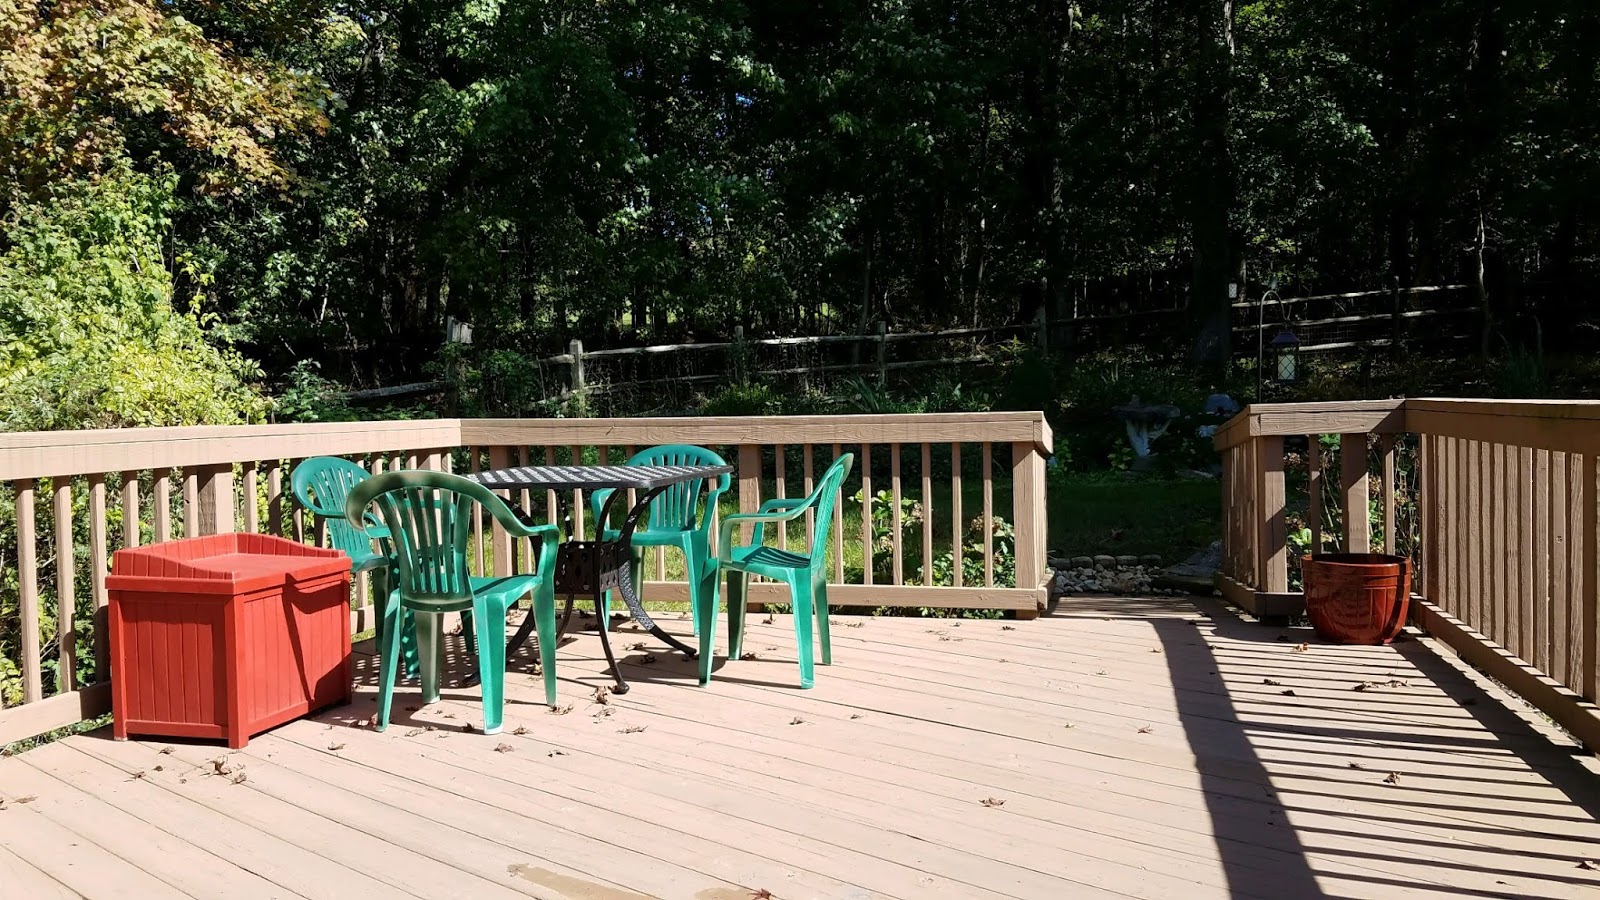
The table with the green chairs, added to the post later. 


Some choose, or have, greater simplicity than to have a patio of their own. Some other people are doing well just to have a roof over their heads and food, and are trying to figure out how to economize on that food. And then there's the homeless man I saw who wished me a good night. 

At different times in my life, I've been at different places in the spectrum of choices and economy. But this is a patio story. 

We recently bought a little house. And we have a deck. Our deck has no cover. It's open to the sun and rain, the winds and falling branches, the snow and hail. We don't have room to bring a set of furniture in to a garage or basement during harsh weather. So I puzzled over picking outdoor furniture. 

I looked at plastic and wood, cast iron and steel. I even looked at a shiny aluminum set (which turned out to be just what they have at Planet Fitness). I looked at 8 person tables and little bistro tables. 

I finally decided the best kind of table for our situation would be cast aluminum. It's sounds like it's heavy enough not to blow around in a storm (I checked the weight on the specific table), but that it shouldn't rust the same way that steel would. 

But I didn't like the prices of the sets, even for seating four. I began to realize that what I really wanted most was the table. I wanted it for eating or writing, and also, if we ever have a power outage (if we can figure out how to use the old camp stove), we could cook outside.  If we ever get a grill in the future, we will have a work surface near it. 

So I ordered a cast aluminum table (on sale), which is about the size of a card table. 

Then I found 4 of those simple plastic patio chairs...on clearance because, after all, it's July. (And yes, I know we don't want to put plastic into the environment, but after all, they had already made them. We picked them from a huge stack, sitting outside, mid-summer. And I help the environment other ways when I can...such as keeping my old rusty car out of the landfill for as long as possible.) 

But the light chairs will blow around, right? Yes, they could, but when a storm threatens, I can tie them to the fence with bungee cords...or clean the inevitable dirt and cobwebs, and stack them inside.  

I got four white chairs but I plan to paint them with Krylon spray paint, probably in hunters green to match the other two chairs and end table which I already have. But I will decide the color, after we receive the table. 

And so, we will have seating for four, plus the two chairs we already had. In addition, when we need more seating, we can temporarily take our old card table outside, also, along with the two folding chairs that are still functional after all these years. Then we will be able to seat eight. 

I spent about half of what I would have spent for a 4-person set and maybe a third of what I would have spent for a 6-person set. Best of all, I think I finally figured out what I really wanted. A sturdy, weather-resistant table... and just simple chairs that are easy to move around.

Nola Dining Table  Adams Mfg Corp Stackable Resin Dining Chair with Slat Seat
The preceding pictures were taken from Wayfair Darby Home Co., Nola Dining Table
and Lowe's Adams Mfg Corp Stackable Resin Dining Chair

What do you do when you want to spend less on a purchase? What's your most important consideration? Do you ever mix and match? 


Tuesday, June 12, 2018

Cowboy Stew in the 1-Button Rice Cooker

From the 1-Button Rice Cooker Cookbook

I made this for the rice cooker, but I think you could make it the same way on the stove. You would just need to stir it, while you heat it through and let the flavors meld. 

Also, I made a double recipe for my 14-cup rice cooker. Nothing complicated, just doubled it straight across all ingredients. The amounts below are to fit in a 6-cup rice cooker. 

Cowboy Stew

½ pound browned ground beef, low fat or drained
1 can (16 ounces) baked beans, drained
1 can (14-16 ounces) cut green beans, drained
¼ of a 10 ounce package of frozen chopped onions, approximate
½ teaspoon chili powder, or to personal taste
¼ teaspoon cumin, or to personal taste

Put all ingredients in the rice cooker. Stir with plastic or wooden utensil. Put on the lid. Push down the lever for Cook.

Let it cook for 15-20 minutes, or until it is heated through and the flavors have blended.

Wednesday, May 9, 2018

Creamy Broccoli, Rice, and Chicken in the 1-Button Rice Cooker

I see my simple 1-button rice cooker as a pot of gold. All I have to do is put in the food and push the button (or rather, push the lever down). Well, okay, for this recipe, I add something toward the end and push it down again for a few minutes; but it's still quite simple.

I noticed that when I posted my rice cooker recipes in the past, I was using a 6-cup rice cooker. Now we are using a 14-cup rice cooker, making double-size recipes, so we will have leftovers for lunches.  You could cut this recipe in half for a smaller rice cooker or if you want less.

From my 1-Button Rice Cooker Cookbook:

2 tablespoons olive oil (I'm using a stainless steel cooker. If you are using a non-stick, you might be able to get away with less oil if you wish)
1
 ¾ cups parboiled, long grain rice OR 1 ¾ cups brown rice
½ cups water
¼ cup soy sauce (you may use low sodium or gluten free if you'd like)
10 ounce (approximately) package of frozen broccoli cuts
2 cups frozen diced chicken (you could, of course, use fresh diced chicken)

½ cup milk or half and half (milk is fine; we just don't use milk a lot, & we can get half and half in smaller containers and use it up)
1 cup grated cheese

Put all ingredients in the rice cooker EXCEPT for the milk and cheese. (Do not stir.) 

Put on the lid. Push down the lever for Cook. When the rice is cooked, it will switch to the Keep Warm setting. If when the button comes up, the rice is not quite done, you can add a few tablespoons water, and push it down again. 

When the rice is done, add the milk and stir. Then sprinkle the cheese all over the top. Put the lid back on and push the button down, and let it heat until it pops up, or for 3-5 minutes, until the cheese melts. 

Serve and enjoy! 

Note (or disclaimer): Mine did stick to the bottom a little. It didn't affect the taste of the dish. And I don't remember having this problem back when we used a non-stick rice cooker. I got the stainless steel one because we use it so often. They are a bit harder to find though.